GETTING STARTED
with the NanoFoamer PRO by Subminimal
THIS VIDEO SAYS IT ALL
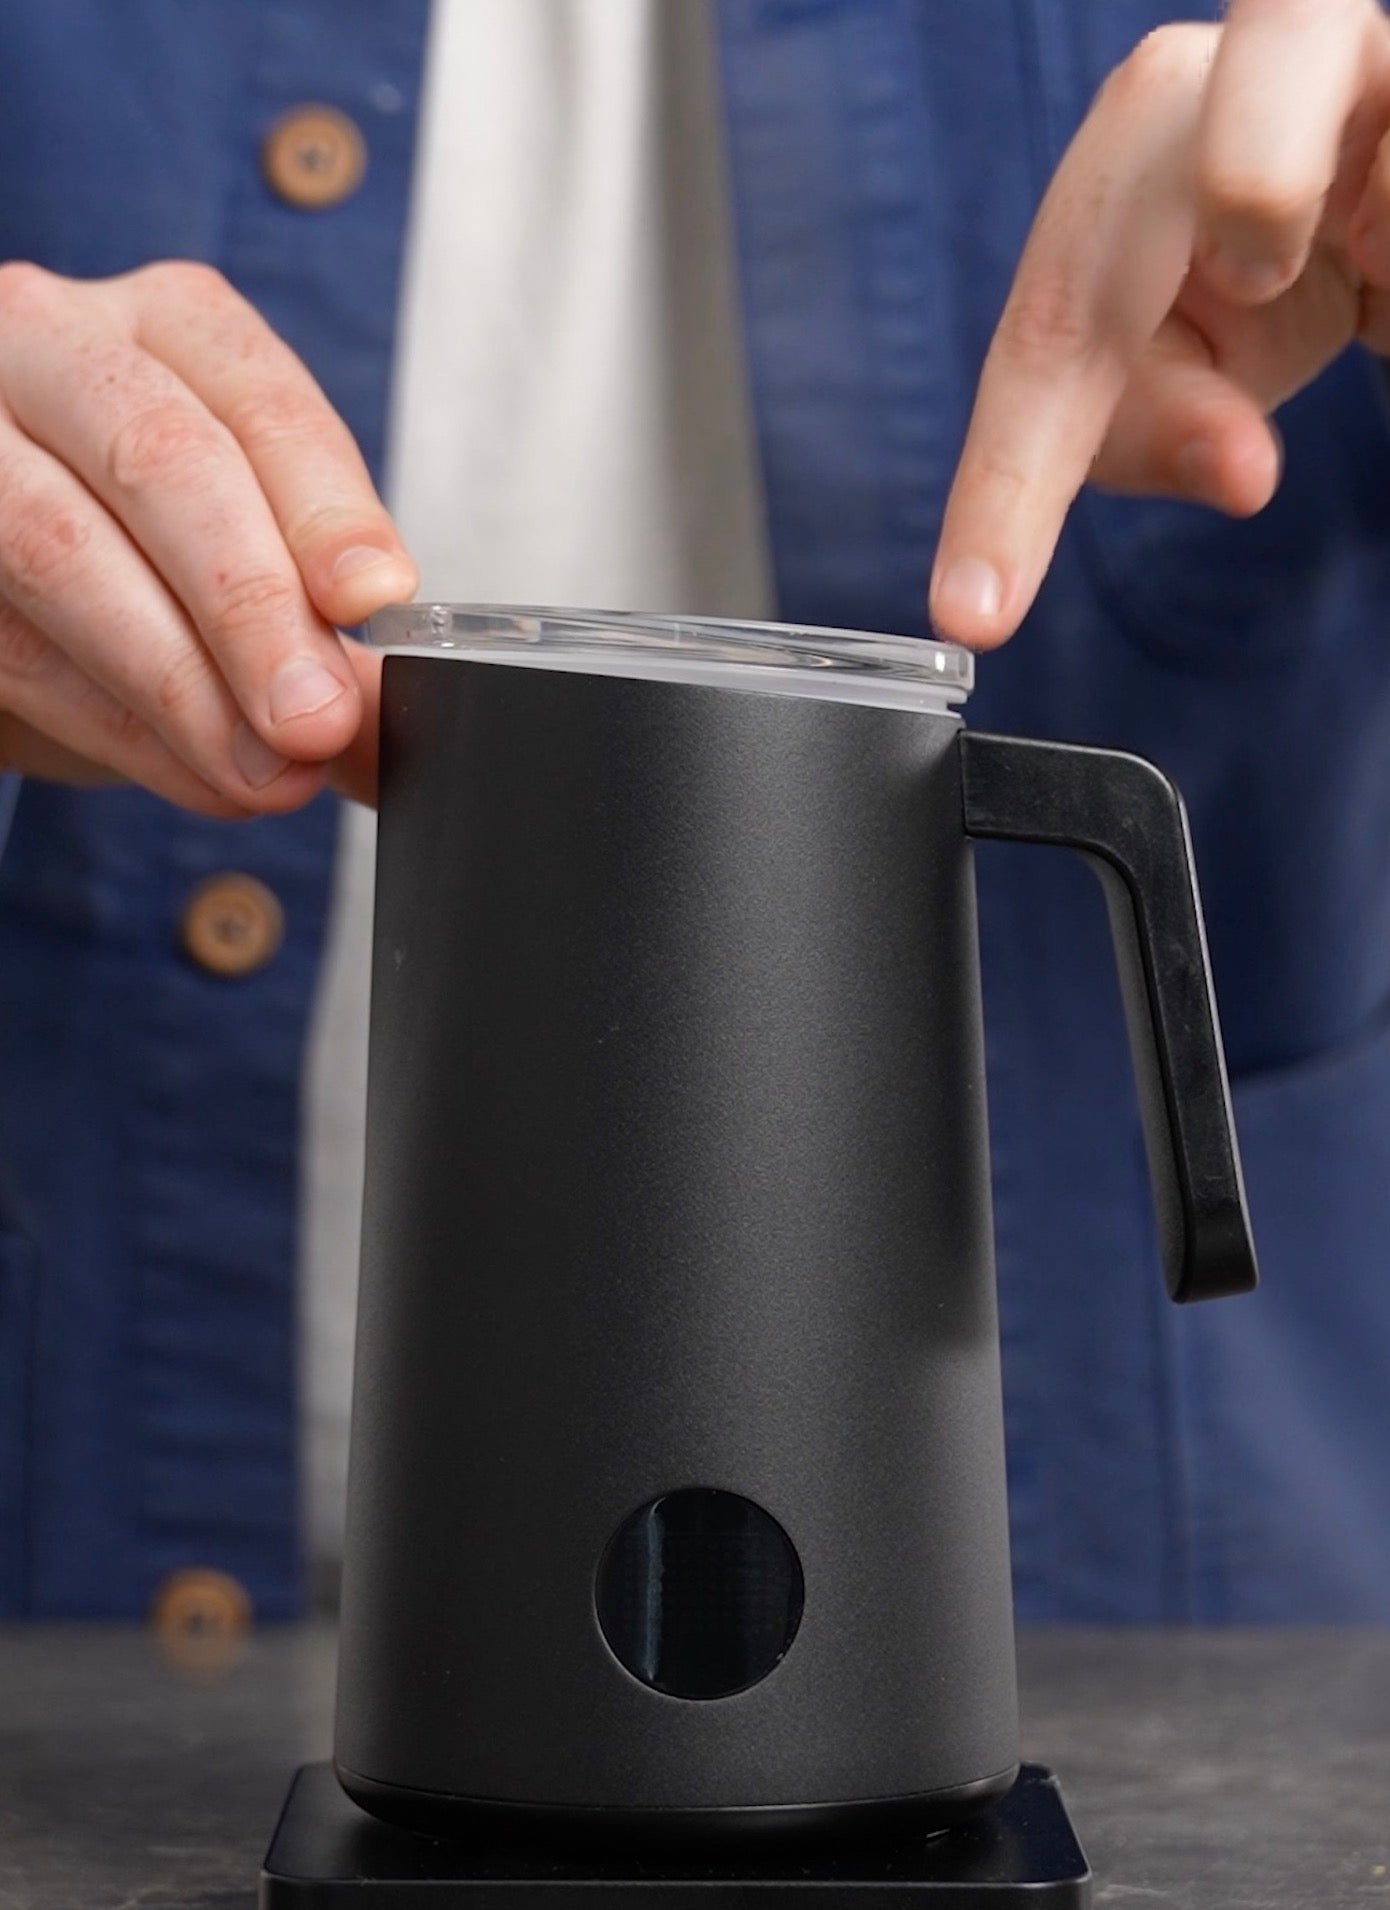
LID ON
It might sounds trivial, but since the impeller is attached to the lid, the position of the lid directly affects the alignment of the impeller and for the best performance, the impeller needs to be perfectly aligned.
Make sure you put the lid on firmly before you start.
We recommend aligning the front first then pushing down on the back part.

PROGRAM MODES
PROGRAM 1
With just one second of aeration and a slightly slower impeller speed, this program is designed for your smallest drinks or for drinks with a tiny amount of foam.
PROGRAMS 2,3,4
Higher programs lead to longer aeration times, which gradually ad more foam to your milk. Adjust to your preferred foam level.
PROGRAM 5
This has the longest aeration (20seconds) and is designed for the really big drinks.
PROGRAM 0
This program will create beautifully foamed cold milk with a sixteen second aeration. It will run faster than the other programs as it does not need to heat the milk
AERATION TIMES
P1-> 1 Second
P2 -> 2 Seconds
P3 -> 4 Seconds
P4 -> 8 Seconds
P5 -> 20 Seconds
Po -> 16 Seconds
Quick Tip: Track your milk level for consistent results.
If you increase the milk level, you may also need to increase the program mode.
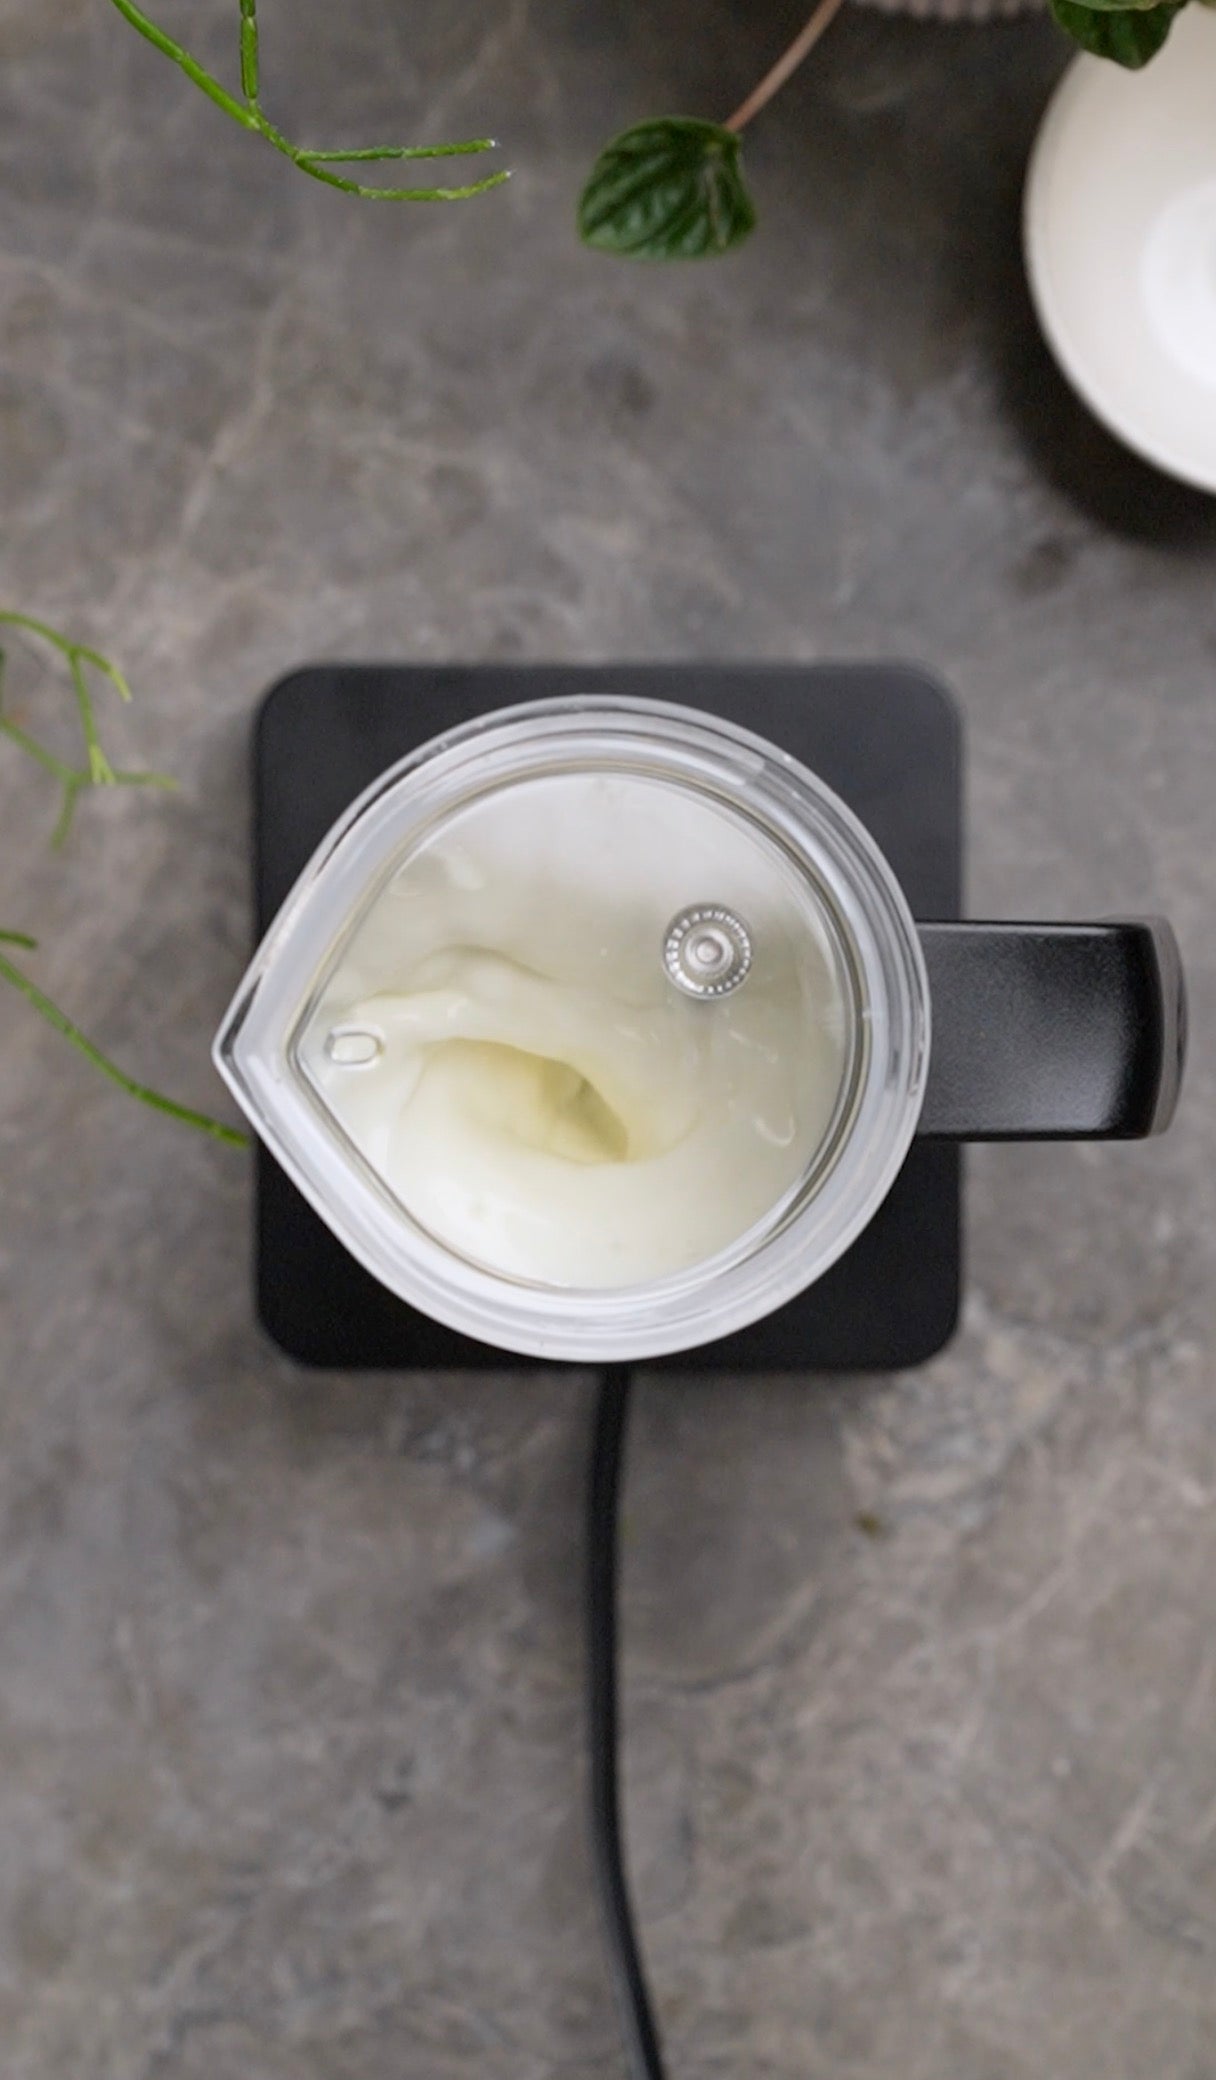
ABOUT LIQUID FLOW
Not every liquid flows the same way. In fact there are hundreds of types of milk and plant-based alternatives, each with different attributes such as fat and protein content, viscocity and additives, making them flow and foam differentl., We manage these variances using the flow controllers.
So how do they work?
The flow controllers slow down the spinning vortex to ensure proper aeration and microfoaming while still allowing the impeller to spin extremely fast to pull down the bubbles.
Choosing the right flow controller may require a little experimentation, especially with milk alternatives.
Dairy milk is easy, just use the black flow controller for most drinks and upgrade to the blue on really big or foamy drinks.
For milk alternatives, you should start with the blue and upgrade to the green if you require more agressive aeration.
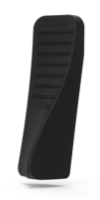
BLACK FLOW CONTROLLER
This model slows the milk down the most, use it with dairy milk and very easy to foam alt-milks.
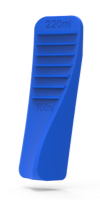
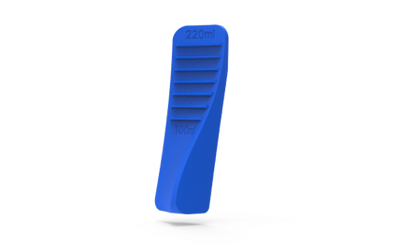
BLUE FLOW CONTROLLER
This one allows the milk to flow a little faster. It's great for big milk drinks and also for the barista edition milk alternatives.
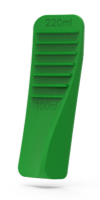
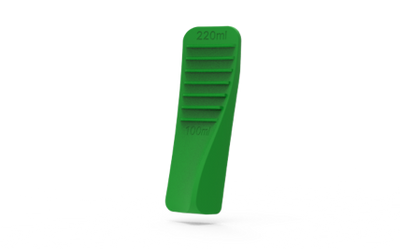
GREEN FLOW CONTROLLER
The green allows the fastest vortex and therefore the most aggressive aeration. It is milk alternatives that struggle to foam up.
CHOOSING AND FINE TUNING FLOW CONTROLLER ACCORDING TO YOUR MILK TYPE.
FROM BLACK
->Upgrade to the blue flow controller if you don't see a good vortex forming and need more aggressive aeration.
FROM BLUE
-> Upgrade to the green flow controller if you need more aggressive aeration.
<- Downgrade to the black flow controller if you are getting rips of aeration in the final microfoaming stage.
FROM GREEN
<- Downgrade to the blue flow controller if you are getting rips of aeration in the final microfoaming stage.
<- Downgrade to the blue flow controller if you are getting too much foam during the aeration stage.
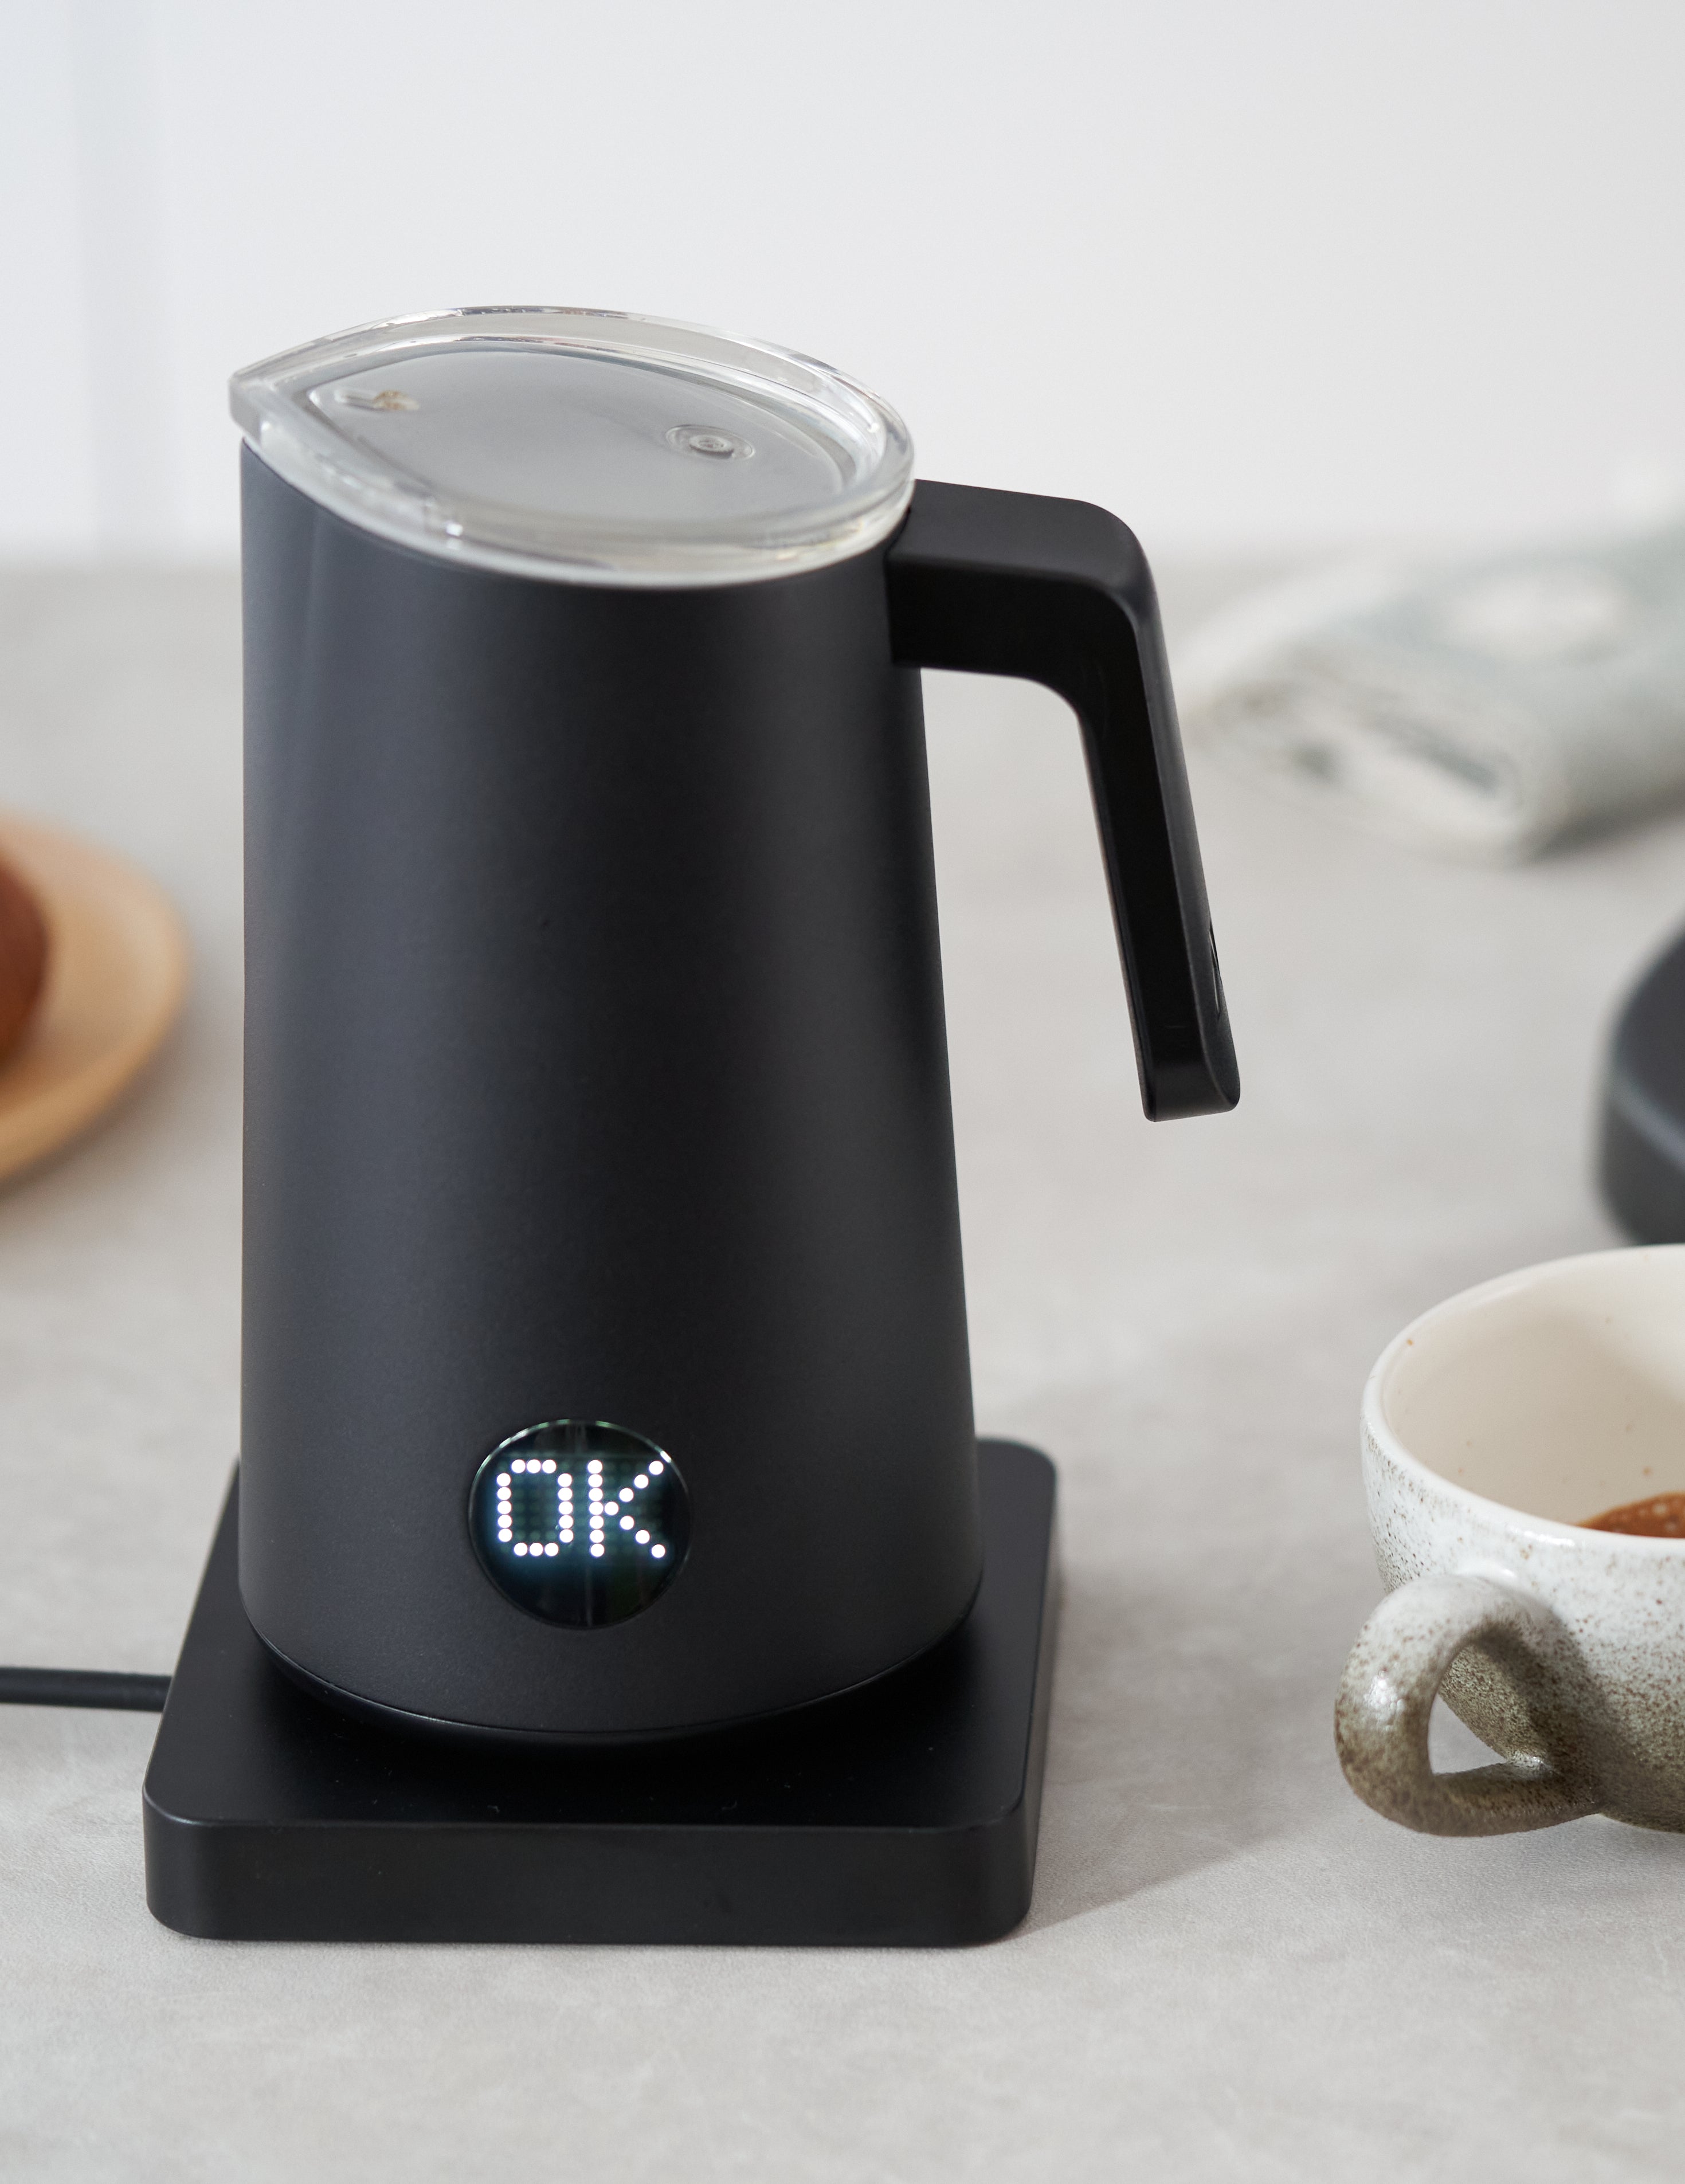
FINDING YOUR IDEAL TEMPERATURE
The NanoFoamer PRO will run beep and the display "OK" when the microfoam is ready at about 55°C / 130°F (+/-3°).
You may pick the NanoFoamer PRO up and pour if that is the right temperature for you.
If you like your milk hotter, let the NanoFoamer PRO continue churning as it heats up to about 65°C / 150°F and then stops.
Quick Tip: This final temperature range, and the heating time during the "OK" is designed to give you a notice that your milk is ready when you are. This gives you some time to prepare you jug wile the milk microfoam is being maintained by the churning impeller.
65°C is the maximum, there is no setting higher than 65°C as hotter milk tends to scald and taste burned.
WATCH A SHORT VIDEO RECAP OF ALL THE TIPS SHARED ABOVE.
TROUBLESHOOTING
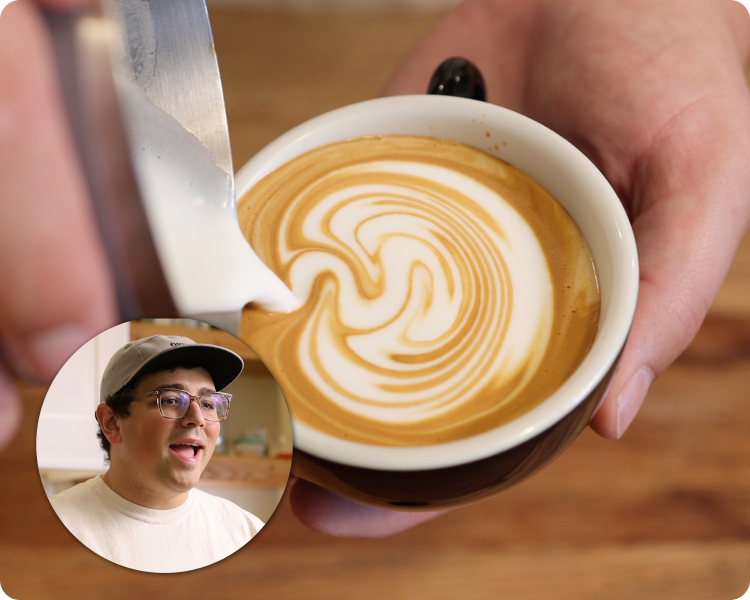
JOIN OUR LATTE ART MASTERCLASS
A 23 minute in-depth video tutorial for beginners to intermediate covering all aspects of learning to pour amazing drinks. The class is divided in chapters for easy navigation. Starting with practice techniques, learning the basics, creating simple hearts, rosettas all the way to winged tulips. The entire class is taught using the NanoFoamer.
Register here using the code on your retail box, or just by setting your email if you bought the product on subminimal.com.